

How To Upload New Font To Mac
How to install and remove fonts on your Mac
Your Mac comes with many congenital-in fonts, and you lot can download and install more than from Apple and other sources. If you lot don't want a font to appear in your apps, you can disable or remove it.
Install fonts
Double-click the font in the Finder, and so click Install Font in the font preview window that opens. After your Mac validates the font and opens the Font Book app, the font is installed and available for use.

Y'all can apply Font Book preferences to prepare the default install location, which determines whether the fonts you add together are available to other user accounts on your Mac.
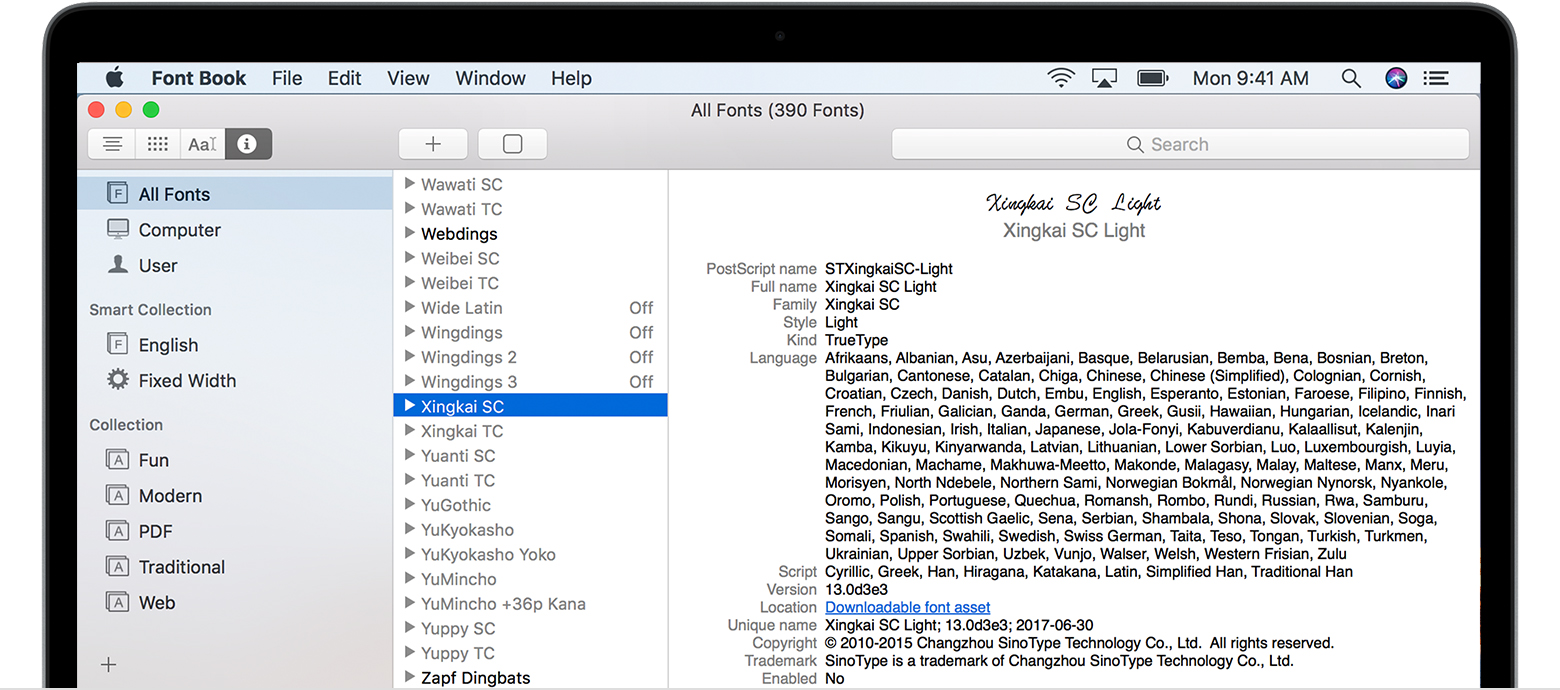
Fonts that appear dimmed in Font Book are either disabled ("Off"), or are additional fonts available for download from Apple. To download the font, select it and choose Edit > Download.
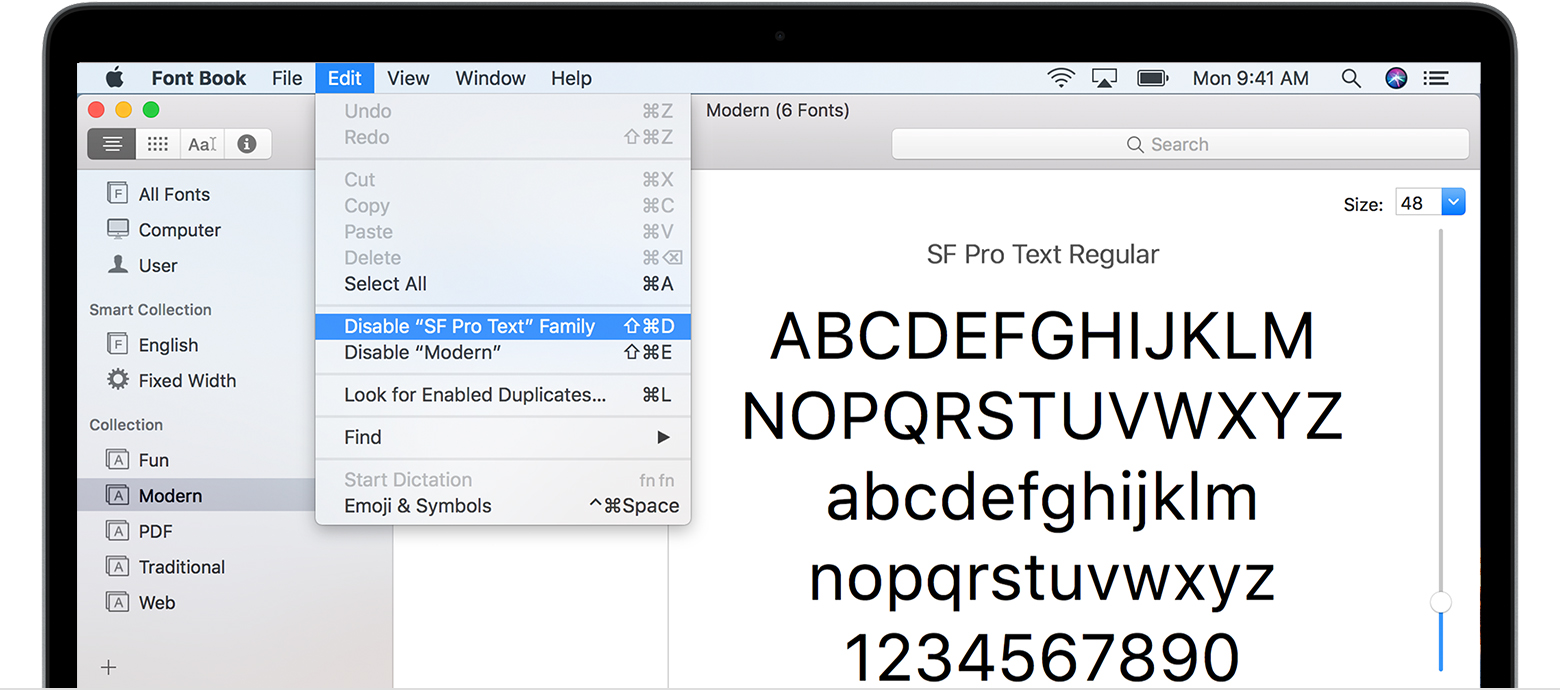
Disable fonts
You can disable any font that isn't required past your Mac. Select the font in Font Volume, then choose Edit > Disable. The font remains installed, but no longer appears in the font menus of your apps. Fonts that are disabled show "Off" next to the font name in Font Volume.
Remove fonts
You can remove any font that isn't required past your Mac. Select the font in Font Volume, and then cull File > Remove. Font Book moves the font to the Trash.
Acquire more than
macOS supports TrueType (.ttf), Variable TrueType (.ttf), TrueType Drove (.ttc), OpenType (.otf), and OpenType Collection (.ttc) fonts. macOS Mojave adds support for OpenType-SVG fonts.
Legacy suitcase TrueType fonts and PostScript Type 1 LWFN fonts might work simply aren't recommended.
Published Appointment:

Source: https://support.apple.com/en-us/HT201749
Posted by: carrollcieved.blogspot.com
0 Response to "How To Upload New Font To Mac"
Post a Comment